Creating Lottie Animations for the Web Using After Effects

Jan 2024
This page has been viewed 1035 times.
Since I plan to use some cool animations on my website, I decided to write a blog post about how to create them while I was learning. I will be using After Effects for the animations and the Lottie plugin for exporting them to JSON format. Then I will display the animations on my website with a few lines of JavaScript code.
Go back to the blogsThe First Animation
The first thing I did was download the LottieFiles plugin for After Effects. I downloaded the plugin via Adobe Exchange since it felt easier. After installing the plugin, I opened After Effects and created a new composition.
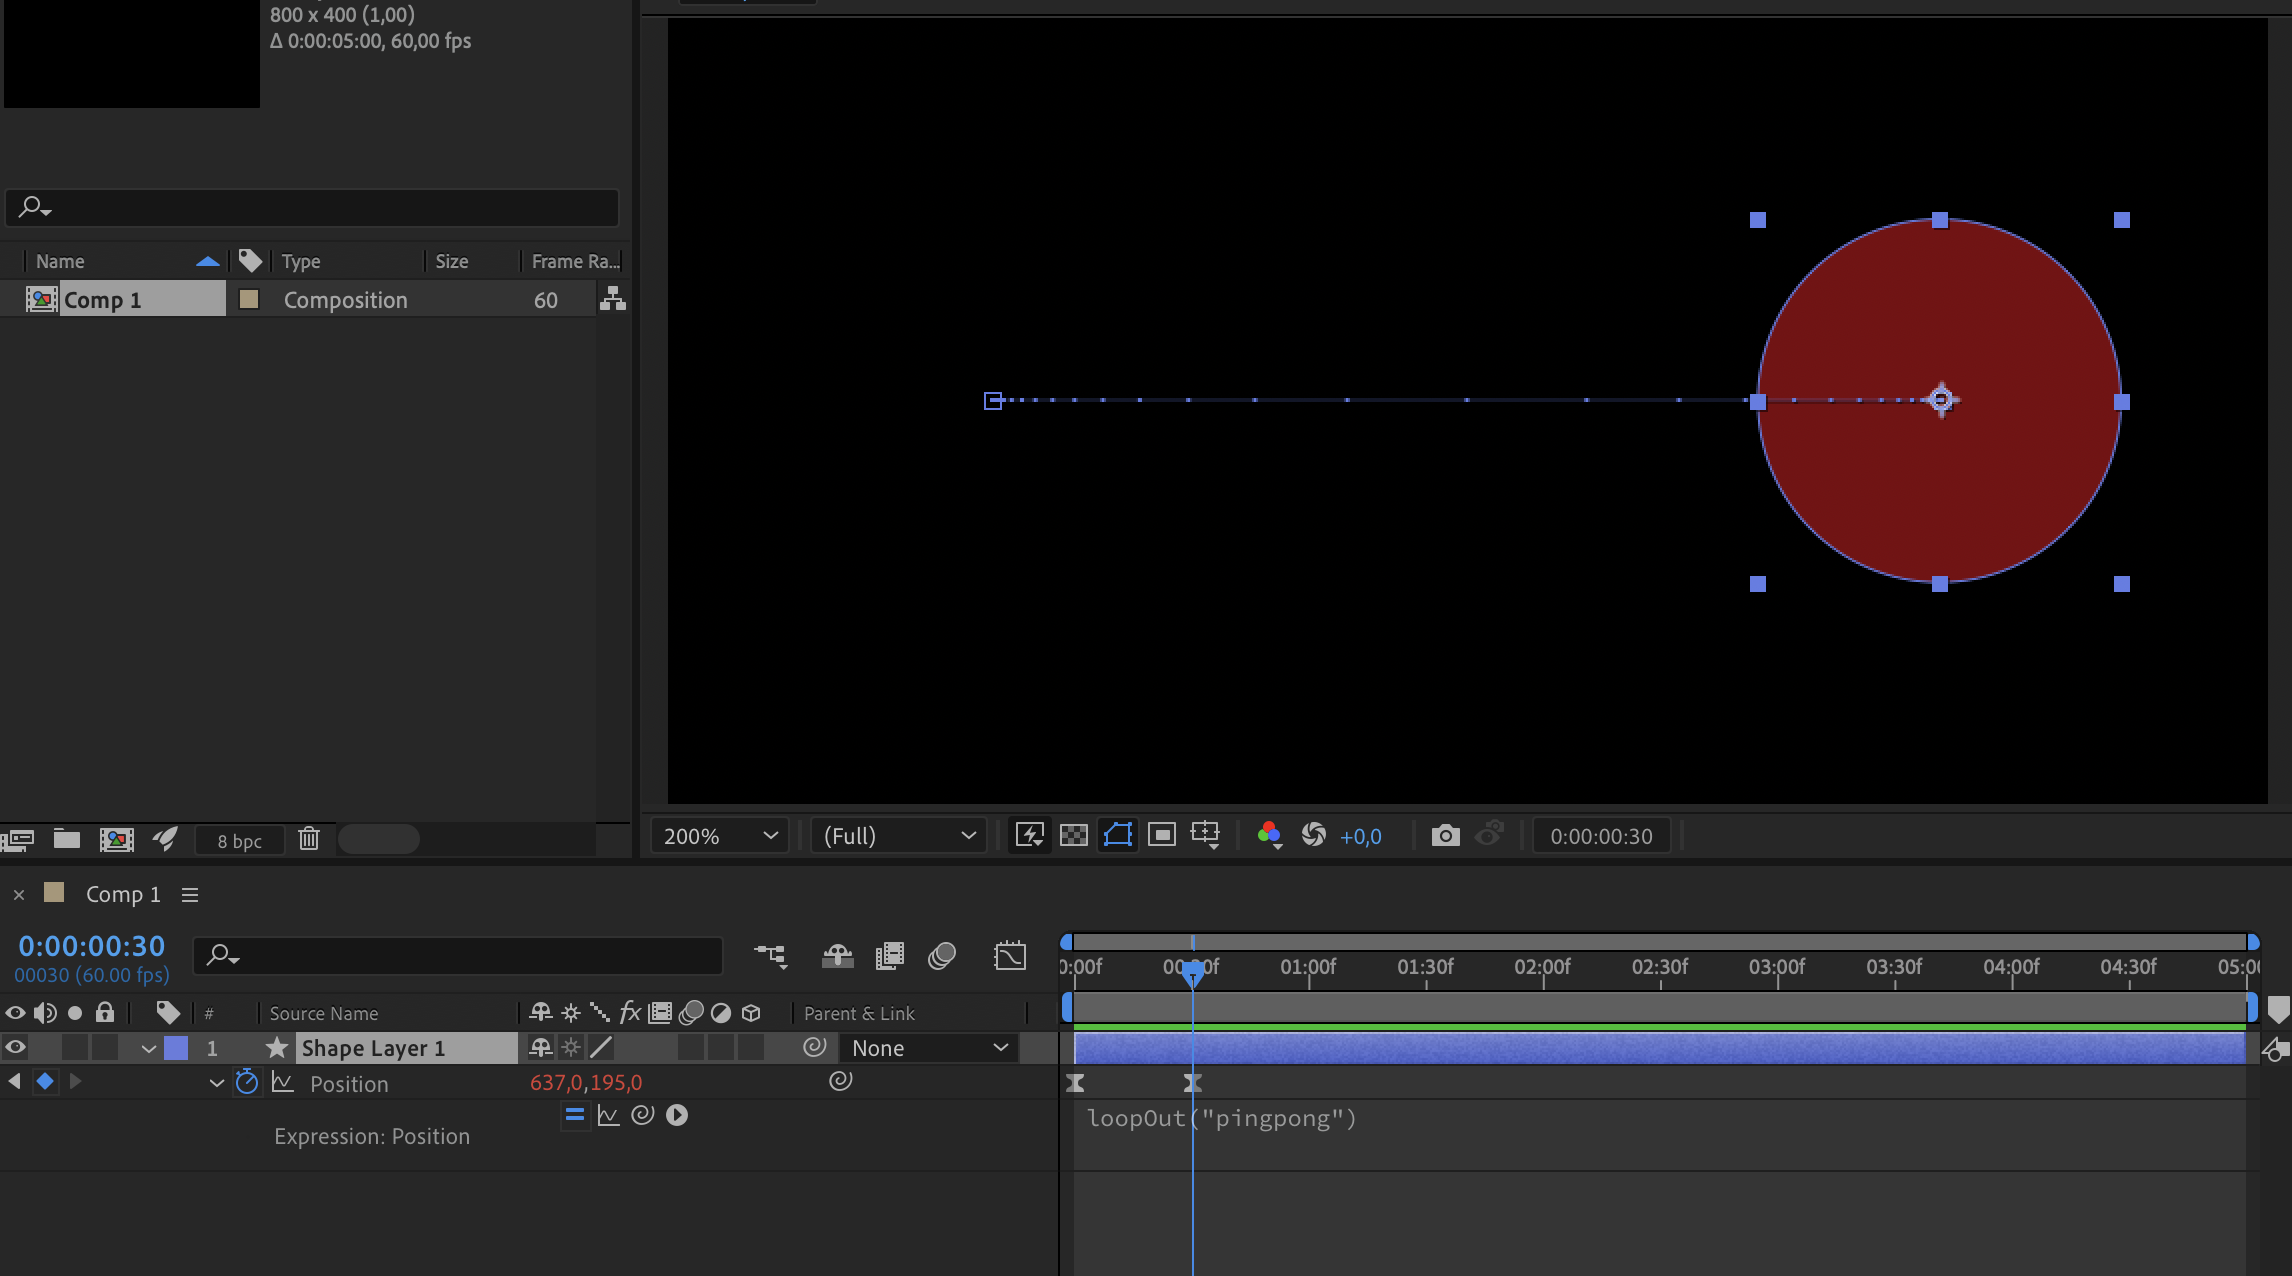
Nothing fancy here; I just created an 800x400 composition with 60 fps. Then I created a circle with the Ellipse Tool. The animation is quite simple; the circle just moves from left to right and then from right to left. For smoothness, I set the keyframe velocity to 75%. I used the loopOut() expression to make the animation loop with the parameter "pingpong".
After rendering the animation with the LottieFiles plugin, I got a JSON file. Now it's time for some coding (copying and pasting). I headed to the Lottie Web Player and copied the generated code.
<script src="https://unpkg.com/@lottiefiles/lottie-player@latest/dist/lottie-player.js"></script>
<lottie-player src="https://lottie.host/272b60dd-462d-42a3-8ed6-fec4143633d6/X4FxBascRI.json" background="transparent"
speed="1" style="width: 300px; height: 300px" direction="1" mode="normal" loop controls autoplay></lottie-player>
I pasted the script tag to the head section of my HTML file and the lottie-player tag to the body section. I have modified the source of the lottie-player tag to point to the JSON file I got from the plugin. I removed controls, added margins, and set the display property to block to center the animation.
<lottie-player src="/static/img/blog/lottie/ball.json" background="transparent" speed="1" style="width: 300px; height: 300px; display: block; margin-left: auto;
margin-right: auto;" direction="1" mode="normal" loop autoplay></lottie-player>
The Result
Don't look at it too much though, it gets very annoying after a while.
Modifiying the Parameters with JavaScript
There are few parameters in the lottie-player, as you can see, and I want to try to change the speed parameter using a slider. I found this running pigeon animation on LottieFiles and thought it would be funny to see it run faster. The animation looks amazing; credits goes to the artist.
<lottie-player id="examplePigeon" src="https://lottie.host/cc6c9ef5-209d-46e6-84ab-492a74d5c7d5/bBtcABFuWj.json"
background="transparent" speed="1"
style="width: 300px; height: 300px; display: block; margin-left: auto; margin-right: auto; margin-top: 10px; margin-bottom: 30px;" direction="1"
mode="normal" loop autoplay></lottie-player>
Then I created this range slider, which has a min value of 0.5 and a max value of 2.5. I set the step value to 0.1 so that the slider can be more precise. I also set the default value to 1 (It is doing nothing right now, by the way).
<input type="range" min="0.5" max="2.5" step="0.1" value="1" id="exampleSlider">Now it's time to write some JavaScript code. I selected the lottie-player and the slider with the getElementById method. Then I added an input event listener to the slider. The event listener calls the setSpeed method of the lottie-player and sets the speed to the value of the slider.
<script>
// Selecting the Lottie player and the slider
var lottiePlayer = document.getElementById('pigeonPlayer');
var speedSlider = document.getElementById('speedSlider');

// Adding an 'input' event listener to the slider
speedSlider.addEventListener('input', function () {
  // Setting the speed of the Lottie player to the value of the slider
  lottiePlayer.setSpeed(speedSlider.value);
});
</script>
After adding the script tag to the bottom of the body section, the slider should work.
The Result
Move the slider to the right to see the pigeon go nuts.
Go back to the blogs